

This is part three of the Cisco Mobility Express (CME) with FreeRADIUS blog pages. In this part, we will explore configuring CME to work with the FreeRADIUS server that we configured in part 2.
Components Used
Blah
blah
Registry option tried on Windows 11 – confirm if works.
We couldn’t find any other solution except this Registry changes on the end user’s PC.
Open Registry Editor with Run as Administrator option
- Go to path HKEY_LOCAL_MACHINE\SYSTEM\CurrentControlSet\Control\Lsa
- Create a new DWORD LsaCfgFlags and set it to 0
- Restart the device.
Overview
- Create the Service Set Identifier (SSID) in CME and configure the FreeRADIUS server on CME.
- Connect endpoints to the new SSID.
- Test FreeRADIUS to ensure requests are received.
Part 1 – Configuration on CME GUI
To allow CME to communicate with FreeRADIUS for the new 802.1X SSID, we need to register the FreeRADIUS on CME. These are the steps to do this.
Step 1. Connect the CME Web GUI and enable expert mode in CME. This is the two arrow icon located at the top right of the CME GUI. Confirm Expert Mode in the GUI.

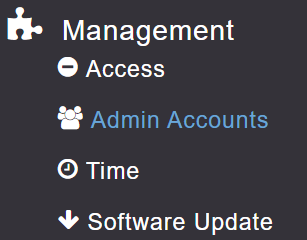
Step 1. Navigate to Admin Accounts.
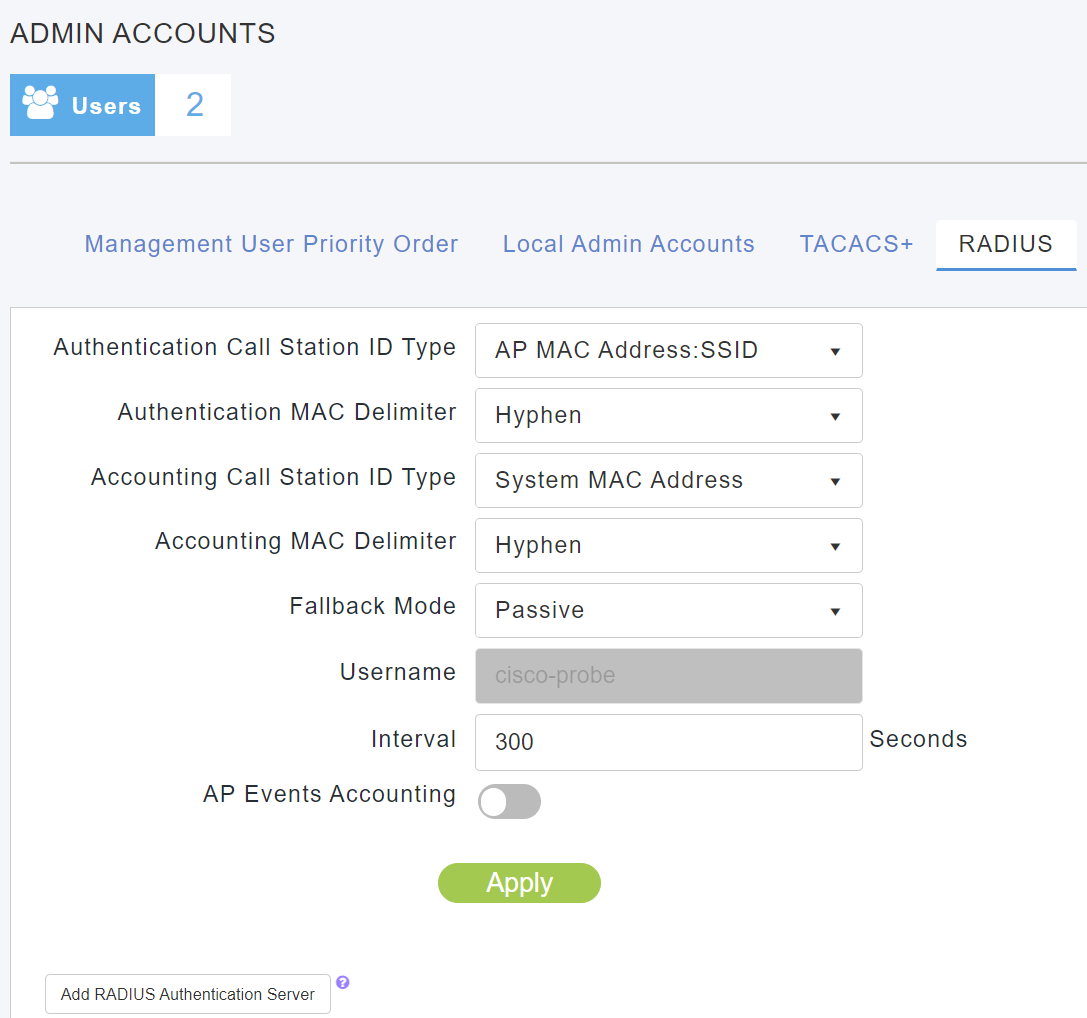
Step 2. Click on the RADIUS tab and then click the Add RADIUS authentication Server button at the bottom of the section. No changes are required to the default configuration but check your configuration against the screenshot below.
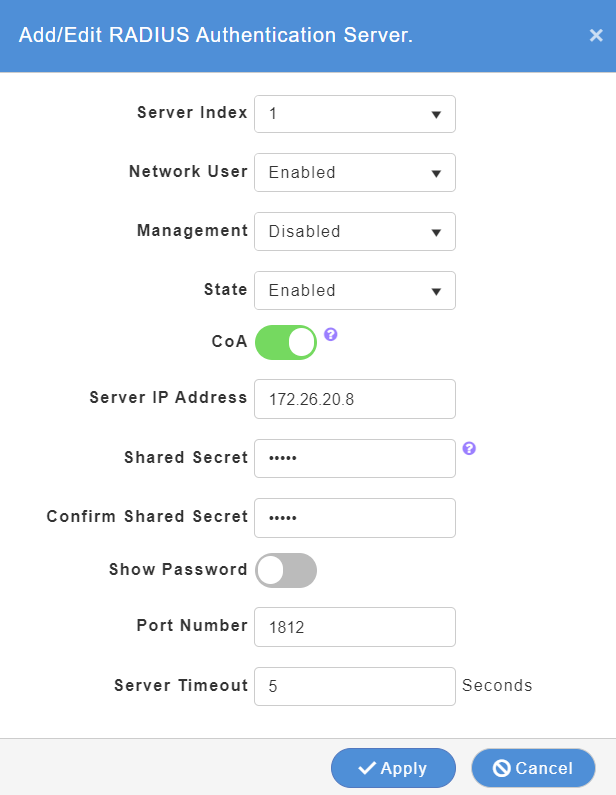
Step 3. Add the FreeRADIUS server to CME using the IP address of the server that you configured (see this blog on how to configure FreeRADIUS):
- Use the secret that you configured for your FreeRADIUS server under the NAS configuration.
- Ensure Change of Authorisation (CoA) is enabled.
- Disable management as this is not configured on FreeRADIUS
- Click Apply when complete.
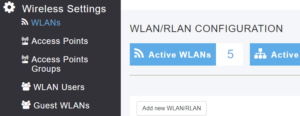
Step 5. Navigate to WLANs and click Add new WLAN/RLAN.
Step 6. On the general tab, add your WLAN SSID. The example used FreeRADIUS as the SSID but you can pick anything.
- Broadcast SSID is recommended unless you want to take a very conservative approach on security.
- Local Profiling is recommended – this adds extra diagnostics in CME.
- Do not click Apply yet.
Step 7. Click on the WLAN Security Tab:
- Select Free RADIUS as the Radius Compability option.
- Select WPA2Enterprise and the Security Type – this will probably be autoconfigured.
- Ensure Radius Profiling and BYOD are disabled.
- Authentication Caching can be enabled later if you wish but leave disabled until you are comfortable that the complete configuration is working correctly.
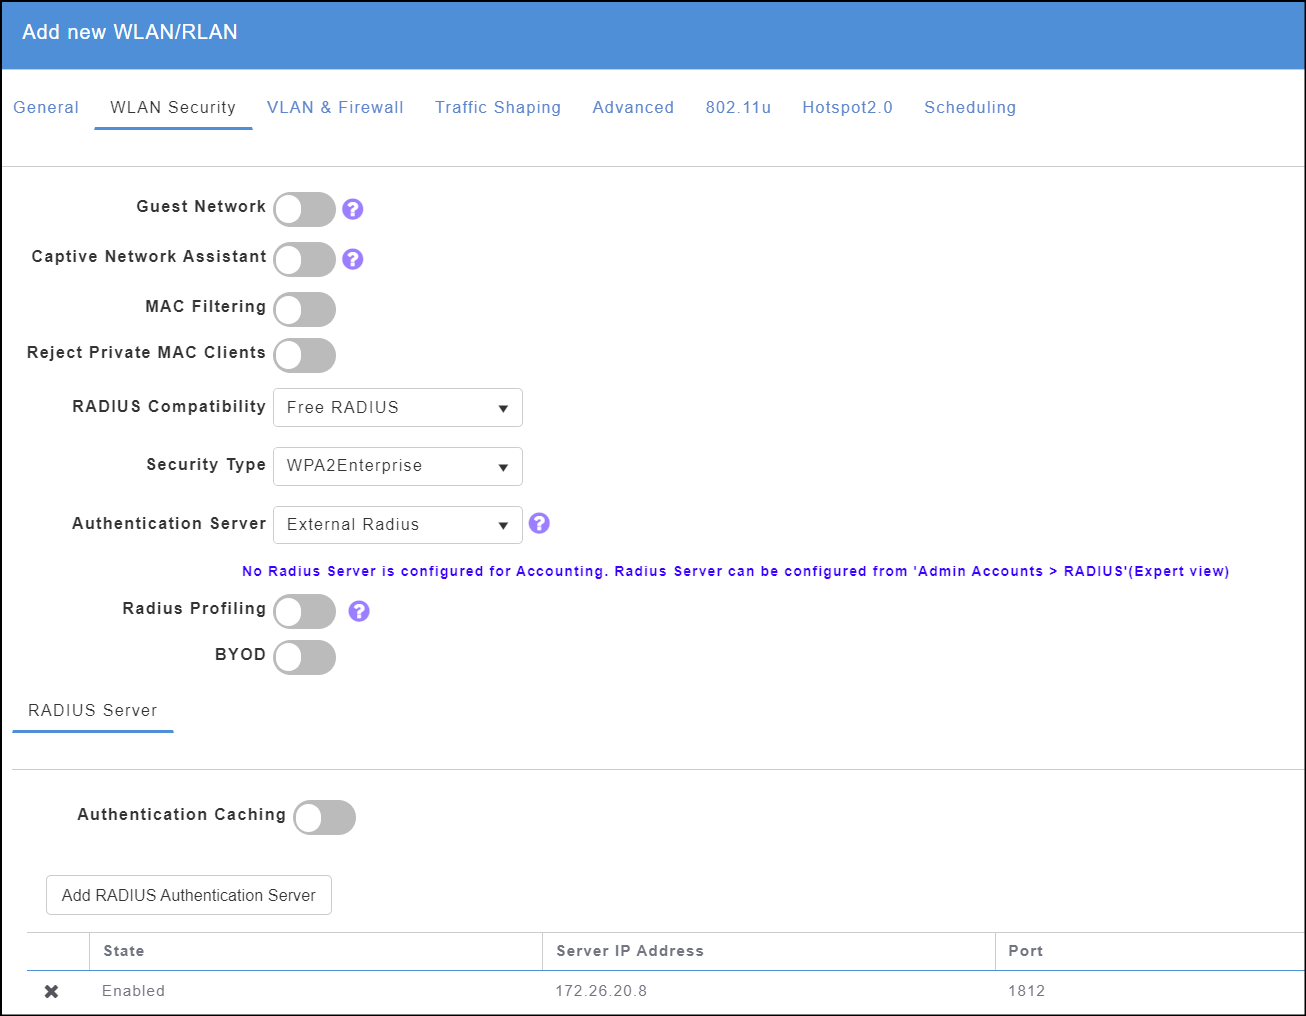
Step 8. On the same tab, Click Add RADIUS Authentication Server and select the FreeRADIUS server that you configured earlier. Do not click Apply yet.
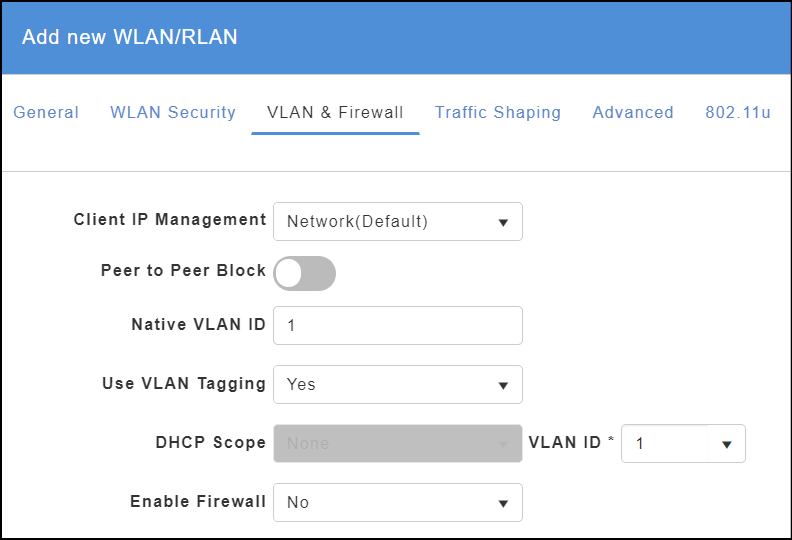
Step 9. Click on the VLAN & Firewall tab in the current configuration screen.
- Select Network (Default) as the Client IP Management option.
- Peer to Peer Block can be enabled if you don’t want clients to see each other. I have this disable because I have devices such as printers and Sonos smart speakers on the wireless network that I need clients to see.
- Select your Native VLAN ID – mine is the default of 1.
- Select Yes for Use VLAN Tagging.
- DHCP scope should be greyed out and select VLAN ID of 1 unless you have another parking or quarantine VLAN that you want to use.
- Select No for Enable Firewall – this can be configured later if you need it.
- Do not click Apply yet.
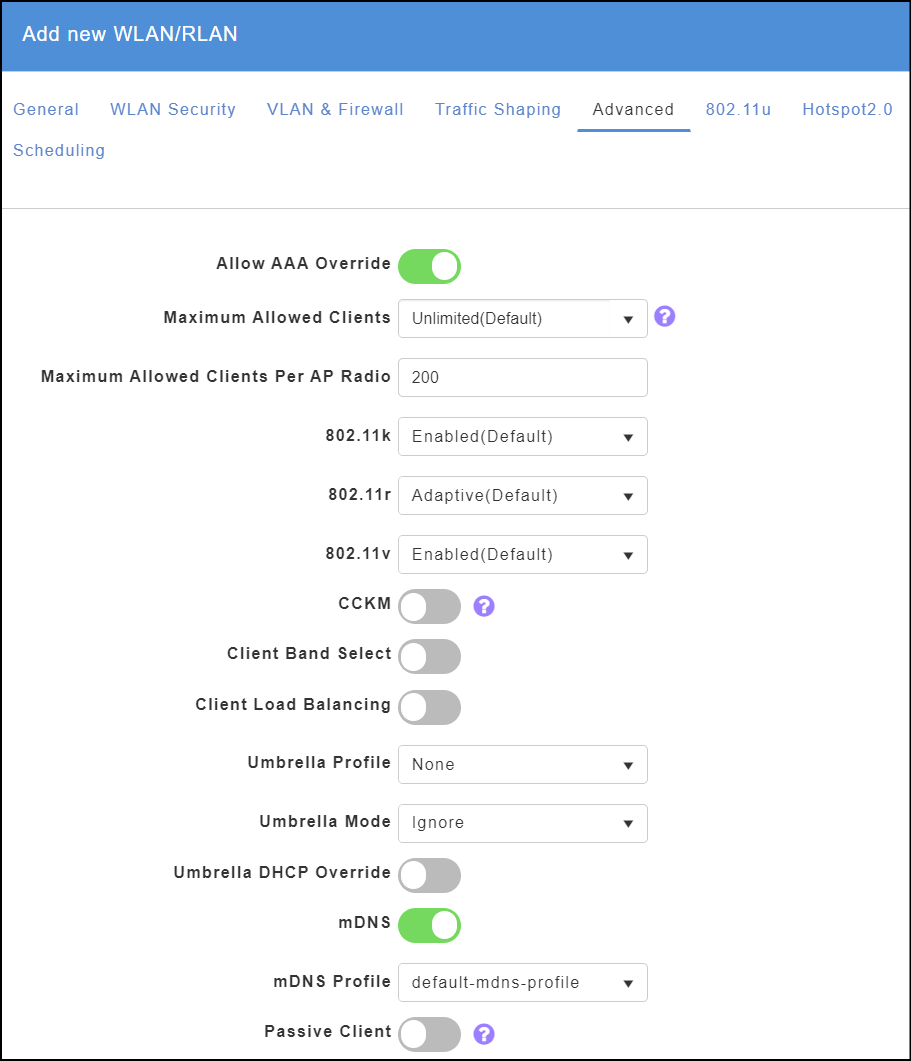
Step 10. Click on the Advanced tab in the configuration.
- Ensure that Allow AAA Override is enabled.
- Disable Umbrella DHCP Override.
- All other settings should be default – you can enable mDNS if you use this on your network (ie., for Apple devices that use AirPlay, AirPrint etc).
- Finally, you can click Apply now!
Part 2 – Configuration on CME Command Line
There is another part to the configuration to ensure that CME is configured to recognised VLANs correctly that needs to be done via the command line. This section explains this requirement.
Step 1. Connect to your CME instance via SSH.
Step 2. Check which SSID reference number has been created – these are in order.
>show wlan summary

Number of WLANs.................................. 5

WLAN ID  WLAN Profile Name / SSID   Status    Interface Name
-------  ------------------------   --------  --------------------
1        Gryffindor / Gryffindor    Enabled   management
2        Hufflepuff / Hufflepuff    Enabled   management
3        Ravenclaw / Ravenclaw      Enabled   management
4        Slytherin / Slytherin      Enabled   management
5        FreeRADIUS / FreeRADIUS    Enabled   management
In my example above, the new FreeRADIUS SSID is the fifth configuration. This means the wlan-id is 5.
Step 3. Enable the flexconnect group with the VLAN IDs that you need. Repeat the last command for each VLAN.
>config flexconnect group default-flexgroup vlan add <vlan-id-1>
>config flexconnect group default-flexgroup vlan add <vlan-id-2>
Step 4. Check the configuration.
>show flexconnect group detail default-flexgroupNow that we have CME configured, check that your FreeRADIUS server is running. The command to start FreeRADIUS as a service is:
$ sudo systemctl start freeradiusPart 3 – Testing on a Client
Select one of more client devices to test with and select your new SSID. It is likely that you may be prompted to trust the certificate of the FreeRADIUS server.
If it all works, you will be able to trace the client in CME and see something similar to below:
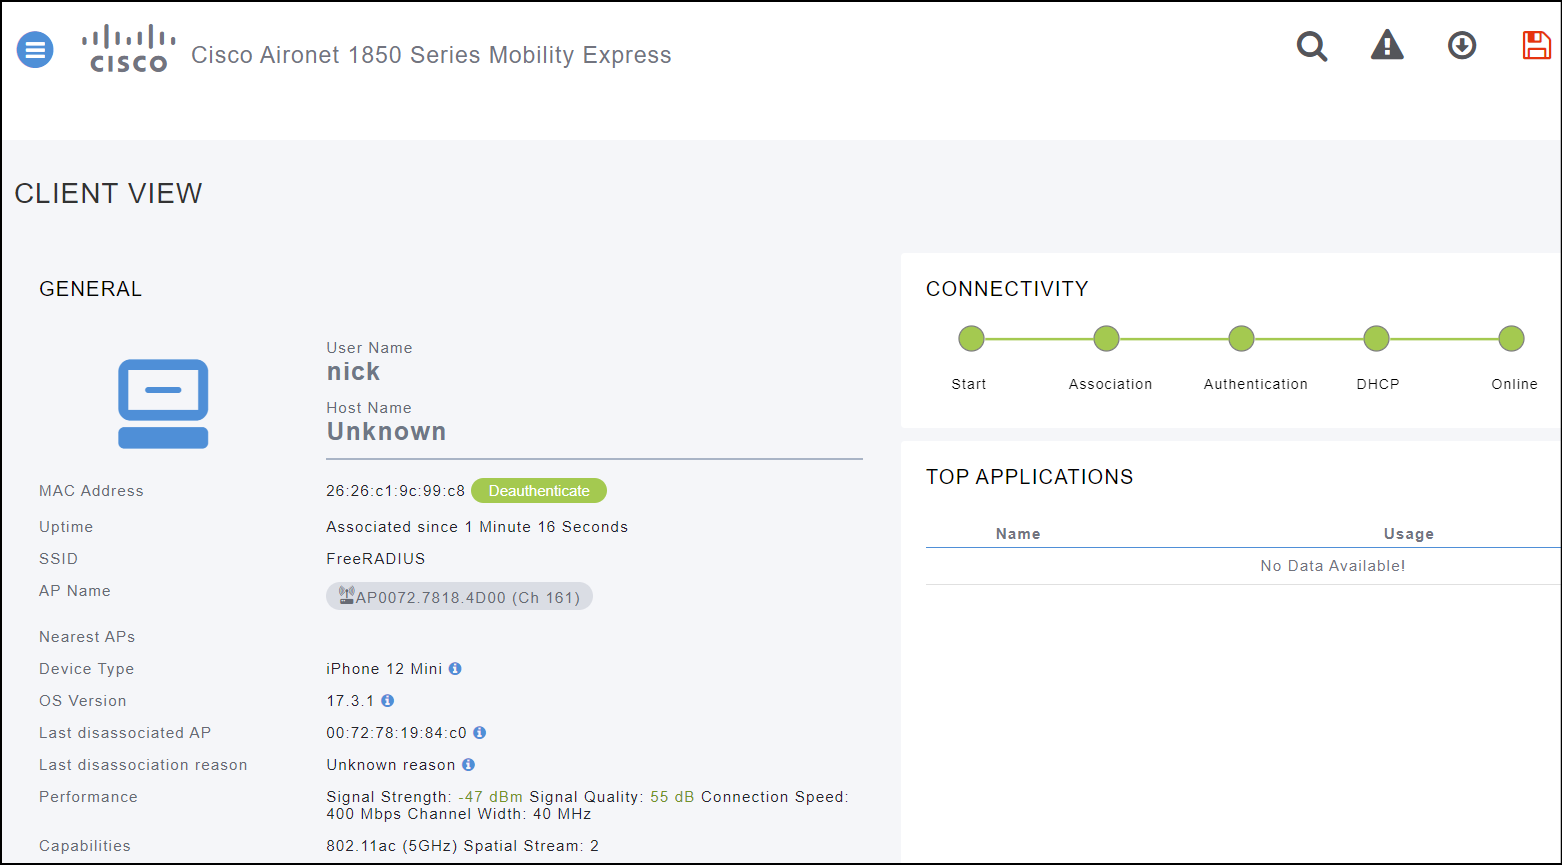
If you have any issues, try running FreeRADIUS in debug mode (see the second article in this series).

Leave a Reply